Twitter
 Facebook
 Flickr
 RSS
RSS
How To Transform Difficult Students
5 days ago
I got the idea for this from one of the middle school teachers in our county – she was nice enough to offer her materials, ideas, samples to the newbies before she retired. I saw this little gem and I snatched it up – she even gave me the stack of astro brite paper to go with it. I have only taught it once – as a little extra at the end of the year to one 3rd grade class... See what you can do with it.
1.Fold the inside pages - 5 pages works best to form the star. This is made with regular copy paper – I used the astro brite neons. Your inside papers should be twice as large as your finished book. I made a large one for this sample. The finished book is 4” so the inside pages are 8”.


Day 3 was the field trip! We got on the bus at Brumfield and then went to pick up the group at Ritchie - we had to sit several students 3 to a seat because the camps were a bit larger than expected! Student had their sketchbooks and had a few places where we would spread out and draw. This was a popular spot:


Way back when I wrote about a site where I found some inspiration for a clay project.
I finally taught the lesson to my 3D 4th and 5th grade elective class and had some great results. I enjoyed making a sample and may have to make it my new signature gift item.
Here is my sample:


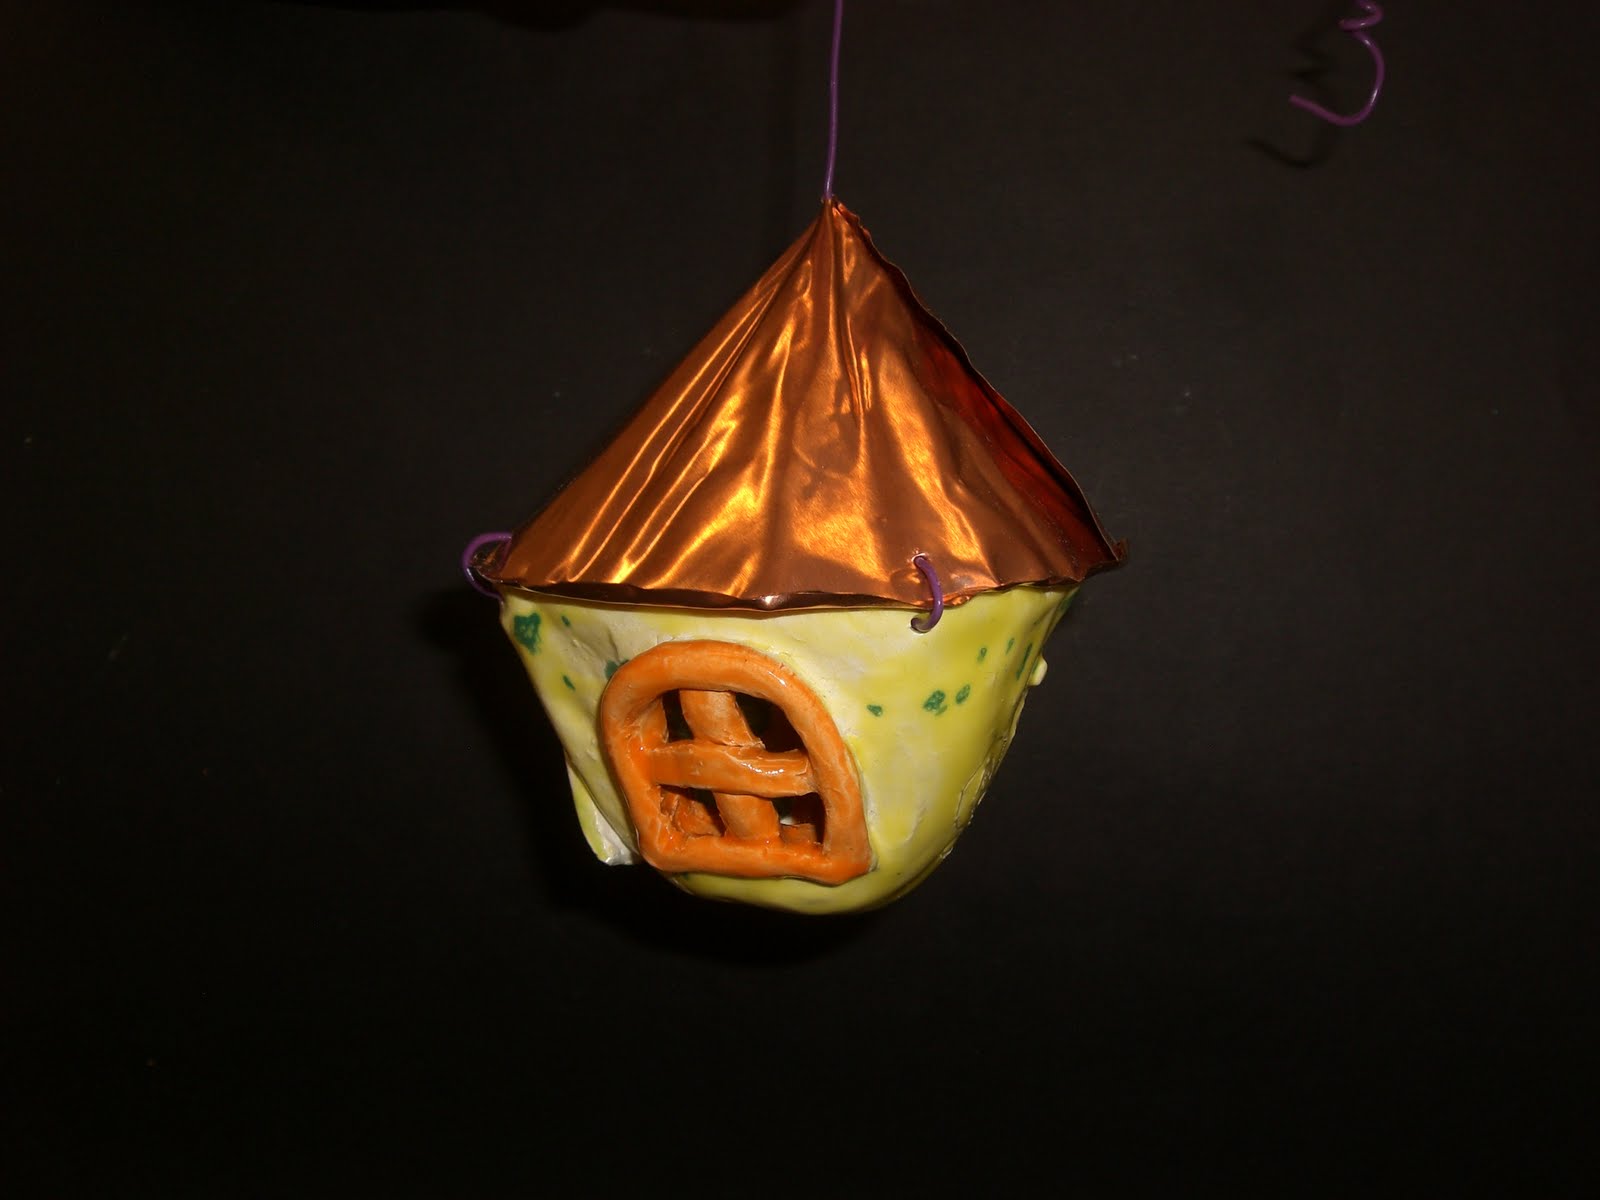
 This is a good student sample - you can tell she looked closely at my sample. We used twisteez wire to attach the roof and I gave them the option to add beads to the hanger.
 I had some other softer metalic sheets that were colored. They were a bit too soft though - I think something in between the two would work best.
  This one looked like a nice votive holder before she put the roof on. Her windows were heart shaped.